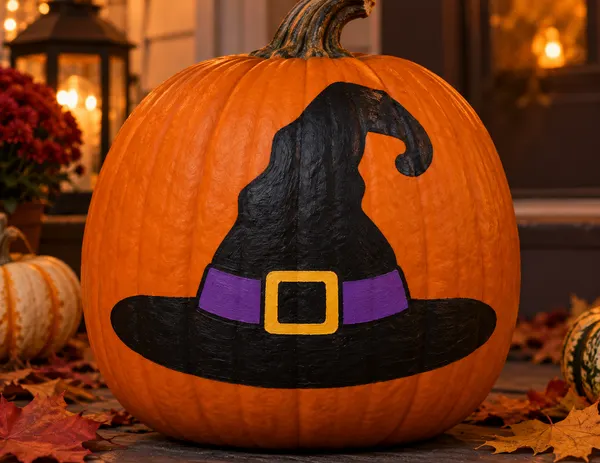
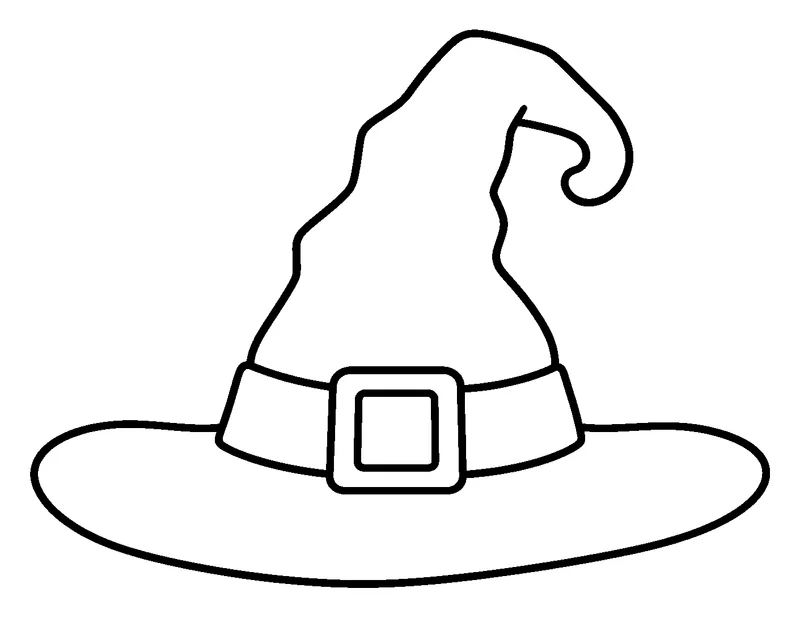
How to Paint a Pumpkin with a Stencil
Painting is easier than carving, safer for kids, and the pumpkin lasts weeks longer. Here is the whole process, from printing to sealing.
What you need
- A pumpkin with a smooth, fairly flat front
- A printed stencil (any design from our pumpkin painting stencil library)
- A soft pencil (2B or softer), tape, and a ballpoint pen
- Acrylic craft paint and two brushes: a medium flat brush and a small round brush
- Optional: clear acrylic spray sealer
1. Prepare the pumpkin
Wipe the pumpkin with a damp cloth to remove dirt, then dry it completely. Paint will not stick to a wet or waxy surface. If the skin feels slick, wipe it with a little rubbing alcohol.
2. Print at the right size
Measure the flat front of your pumpkin. On a design page, pick Small, Medium, or Large, or type your own width. Print at 100% (in the print dialog choose "Actual size", not "Fit to page"), then check the 1-inch bar at the bottom of the page with a ruler.
3. Transfer the design
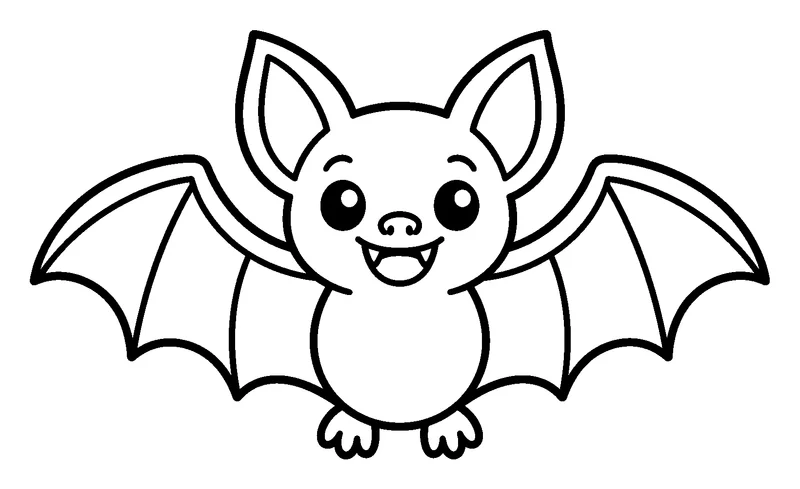
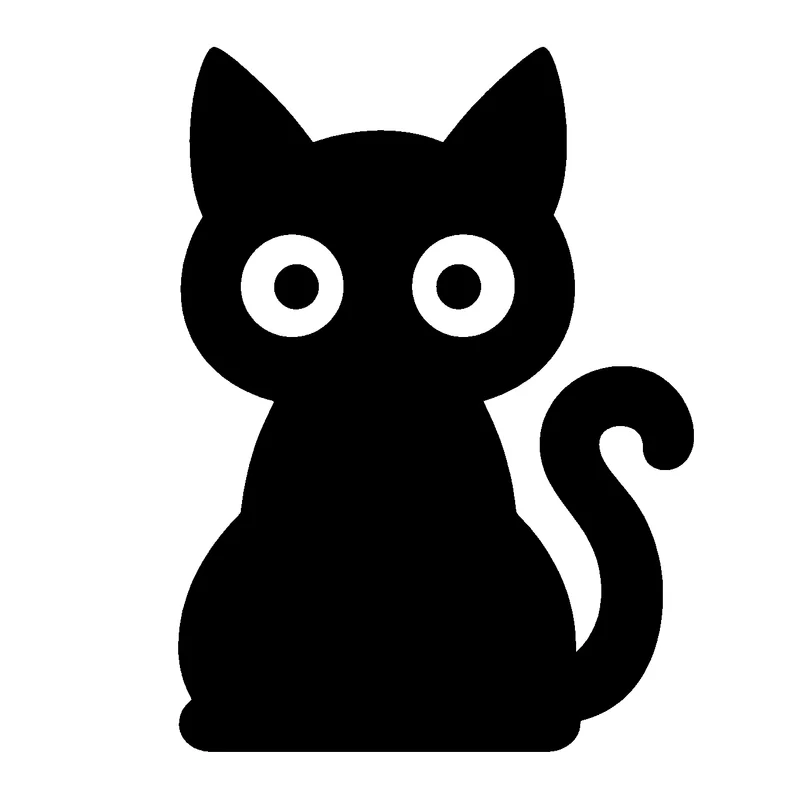
Turn the printout over and shade the back of the lines with the side of a soft pencil. Tape the sheet to the pumpkin, pencil side down. Trace every line firmly with a ballpoint pen. Lift a corner to check the lines came through before removing the paper.
On a very curved pumpkin, cut small slits from the edge of the paper toward the design so it lies flat.
4. Paint
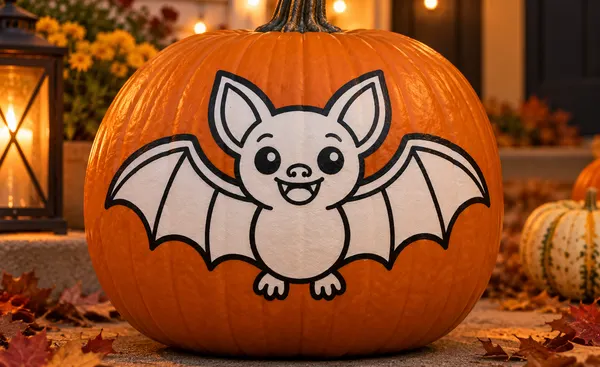
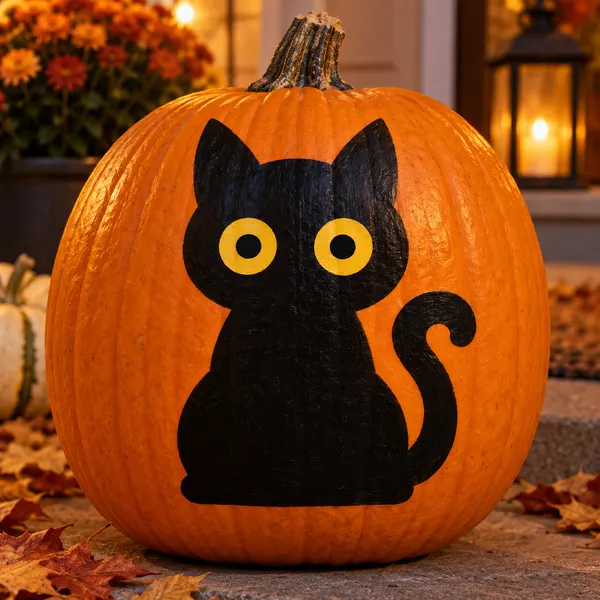
Start with the biggest areas and the lightest colors. Two thin coats look better than one thick coat. Let each coat dry for about 15 minutes. Add the black outlines and small details last with the small brush.
5. Make it last
Once the paint is fully dry, spray a light coat of clear sealer outdoors. Keep painted pumpkins out of direct rain and freezing nights. An uncut painted pumpkin often lasts two months or more.