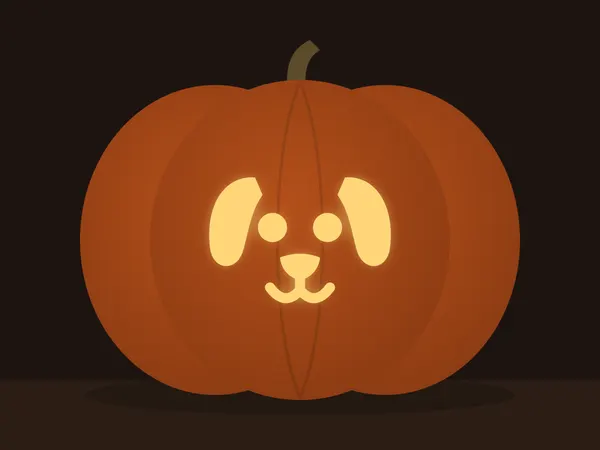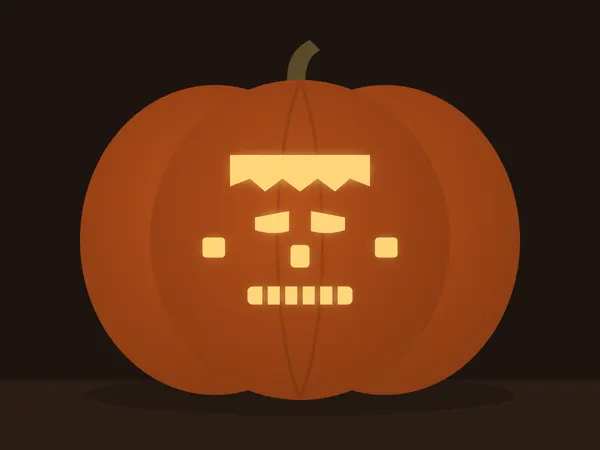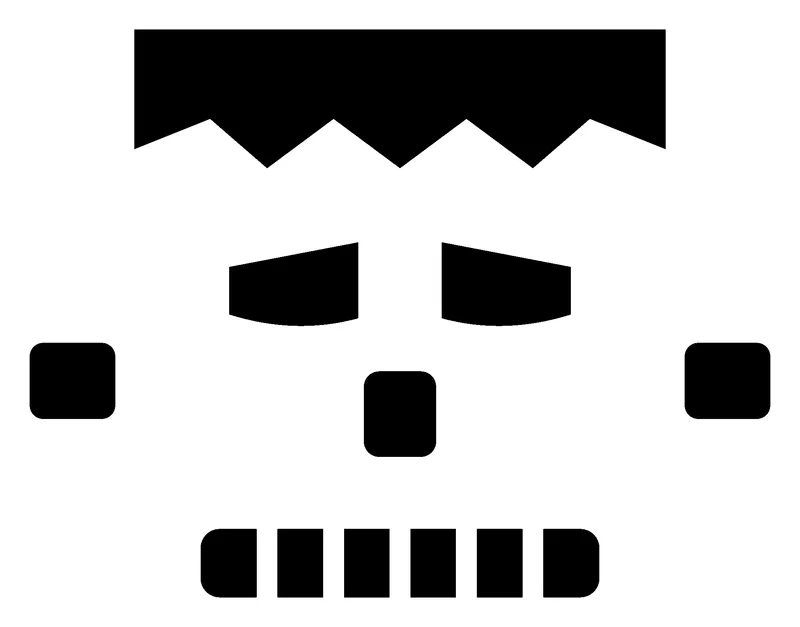

Black parts are cut out, white parts stay. The lit example shows the finished look.
Save to PinterestHappy Face Pumpkin Carving Stencil
- LevelEasy
- Timeabout 30 min
Choose your size
Not sure? Measure the smooth front of your pumpkin side to side with a tape or string. Pick a design width about two thirds of that.
Printed design: 6 × 4.4 in (15.2 × 11.1 cm)
Fits on 1 US Letter page.
Printed too small or too big?
Your printer shrank the page to fit. Print again and change the scale:
- Computer: in the print window, set Scale to 100% or pick "Actual size". Turn off "Fit to page".
- Phone or tablet: open the PDF, tap Share, then Print. Turn off "Scale to fit" if you see it.
Then measure the 1-inch bar at the bottom of the page.
How to carve it
- PrintPrint the PDF at 100% (Actual size). Check the 1-inch bar at the bottom of the page. No printer? Open the stencil full screen on a tablet, lay thin paper over it, and trace.
- Clean outCut a lid around the stem, scoop out the seeds, and scrape the front wall to about 1 in thick.
- PokeTape the pattern on and poke holes along every line with a pin tool, about 1/8 in apart.
- CarveSaw out the black parts, smallest pieces in the middle first. Push the pieces out from inside.
You will need
A pumpkin with a smooth front, a small serrated carving saw, a big spoon or scoop, a pin tool or pushpin, tape, and a candle or LED light.
Difficulty
A few big cut-outs. A good first carve; kids can poke the pattern while an adult saws.